No Bake Mini Oreo Cheesecakes – Creamy, Easy, and Crowd-Pleasing
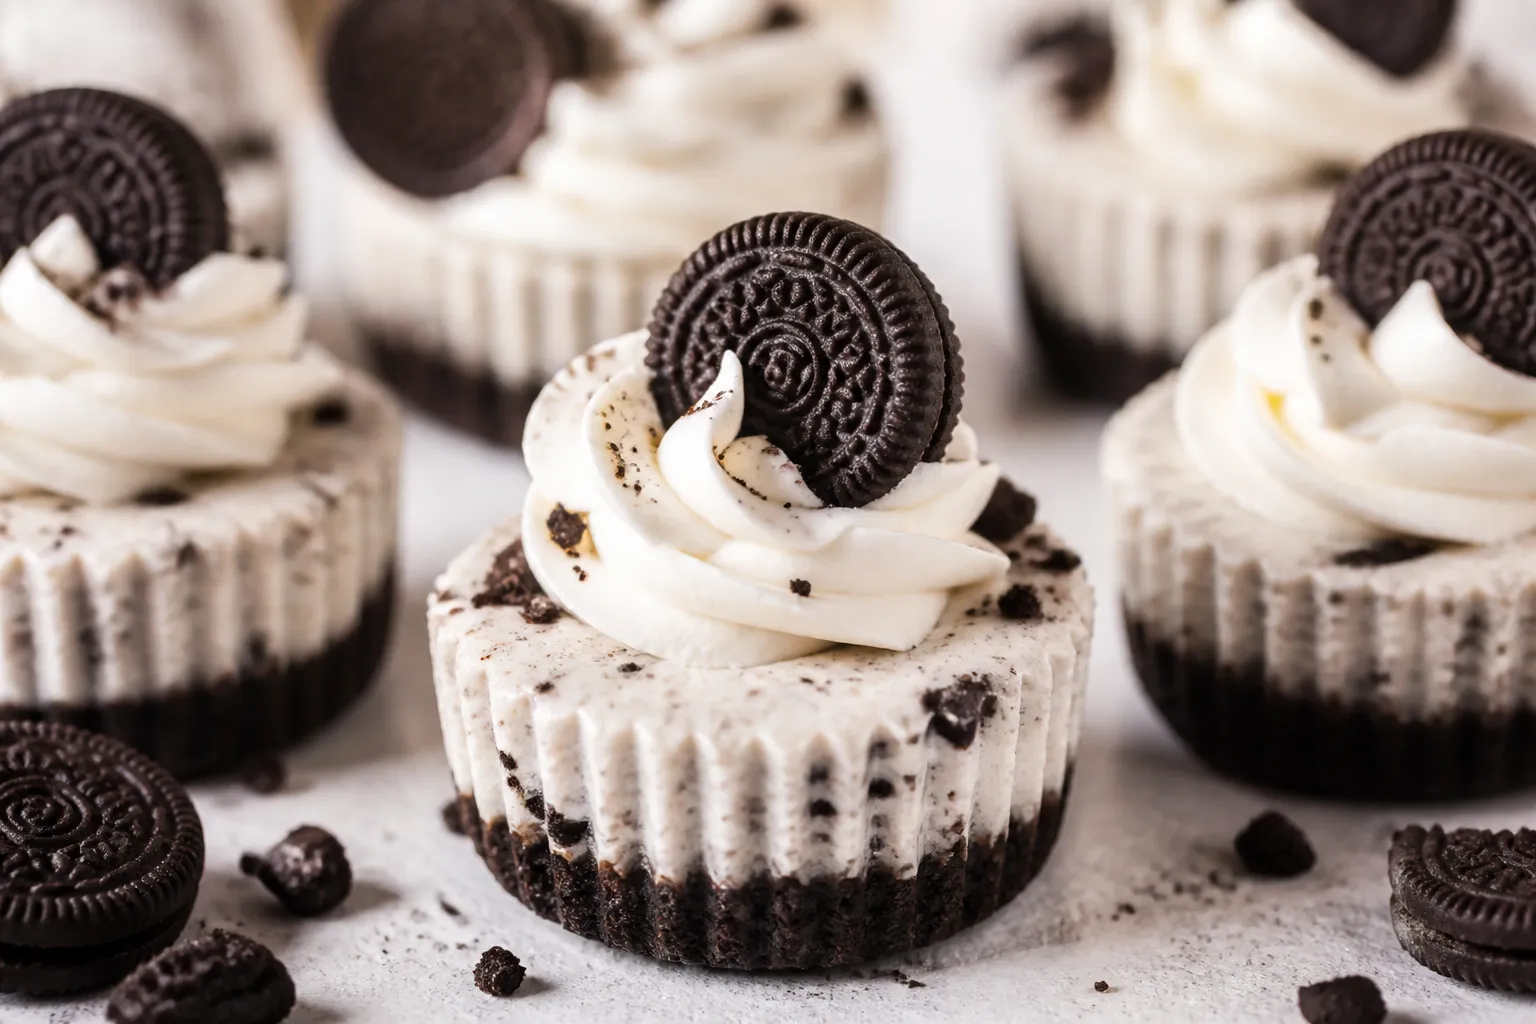
No bake mini Oreo cheesecakes are the kind of dessert that makes people smile before they even take a bite. They’re creamy, cool, and packed with cookies-and-cream flavor, and you don’t need to turn on the oven. Each one comes with a crunchy Oreo base, a silky cheesecake filling, and more Oreo crumbles on top.
They’re perfect for parties, weeknight treats, or anytime you want a sweet win with minimal effort. If you like Oreos and cheesecake, this mash-up will hit the spot.
What Makes This Recipe So Good
- Zero baking required: The crust sets in the fridge, not the oven, making this dessert low-stress and summer-friendly.
- Mini size, big flavor: Individual portions look polished and make serving easy—no slicing, no mess.
- Foolproof texture: Whipped cream folded into the filling keeps it light, while cream cheese brings that classic tang.
- Fast to assemble: You’ll spend more time waiting for them to chill than actually prepping.
- Kid- and crowd-approved: Oreos rarely meet a critic. These disappear fast at potlucks and birthdays.
What You’ll Need
- Oreos: About 28–32 standard cookies, divided (some for crust, some for filling, some for topping).
- Unsalted butter: 5 tablespoons, melted, to bind the crust.
- Cream cheese: 16 ounces (2 blocks), full-fat, softened to room temperature for a smooth filling.
- Granulated sugar: 1/2 cup, to sweeten the cheesecake base.
- Pure vanilla extract: 1 1/2 teaspoons, for warmth and balance.
- Sour cream: 1/3 cup, for tang and silkiness.
- Heavy whipping cream: 1 cup, whipped to stiff peaks to lighten the filling.
- Pinch of salt: Optional, but it sharpens the flavors.
- Optional finishing touches: Extra Oreo crumbs, mini Oreos, chocolate shavings, or a drizzle of chocolate sauce.
- Tools: 12-cup muffin tin, paper liners, zip-top bag or food processor, mixing bowls, hand mixer or stand mixer, spatula.
Instructions
- Line the pan: Place paper liners in a 12-cup muffin tin.
This keeps the crust tidy and makes unmolding easy.
- Crush the Oreos for the crust: Add about 18–20 Oreos to a food processor and pulse to fine crumbs. If using a zip-top bag, crush with a rolling pin until sandy.
- Make the crust: Stir the crumbs with the melted butter until evenly moistened. The mixture should clump slightly when pressed.
- Press the crust: Divide the mixture among the liners (about 1 to 1 1/2 tablespoons each).
Press firmly with the bottom of a measuring cup or flat glass to compact. Chill while you make the filling.
- Whip the cream: In a cold bowl, whip the heavy cream to stiff peaks. Set aside.
This will lighten the cheesecake and help it set without gelatin.
- Beat the cream cheese: In a separate bowl, beat the softened cream cheese with the sugar and salt until very smooth, about 2 minutes. Scrape the bowl to avoid lumps.
- Add vanilla and sour cream: Mix in the vanilla extract and sour cream until fully combined and glossy.
- Fold in whipped cream: Gently fold the whipped cream into the cream cheese mixture in two additions. Keep it light to maintain volume.
- Stir in Oreo pieces: Roughly crush 6–8 Oreos and fold them into the filling.
Aim for a mix of small bits and a few chunks for texture.
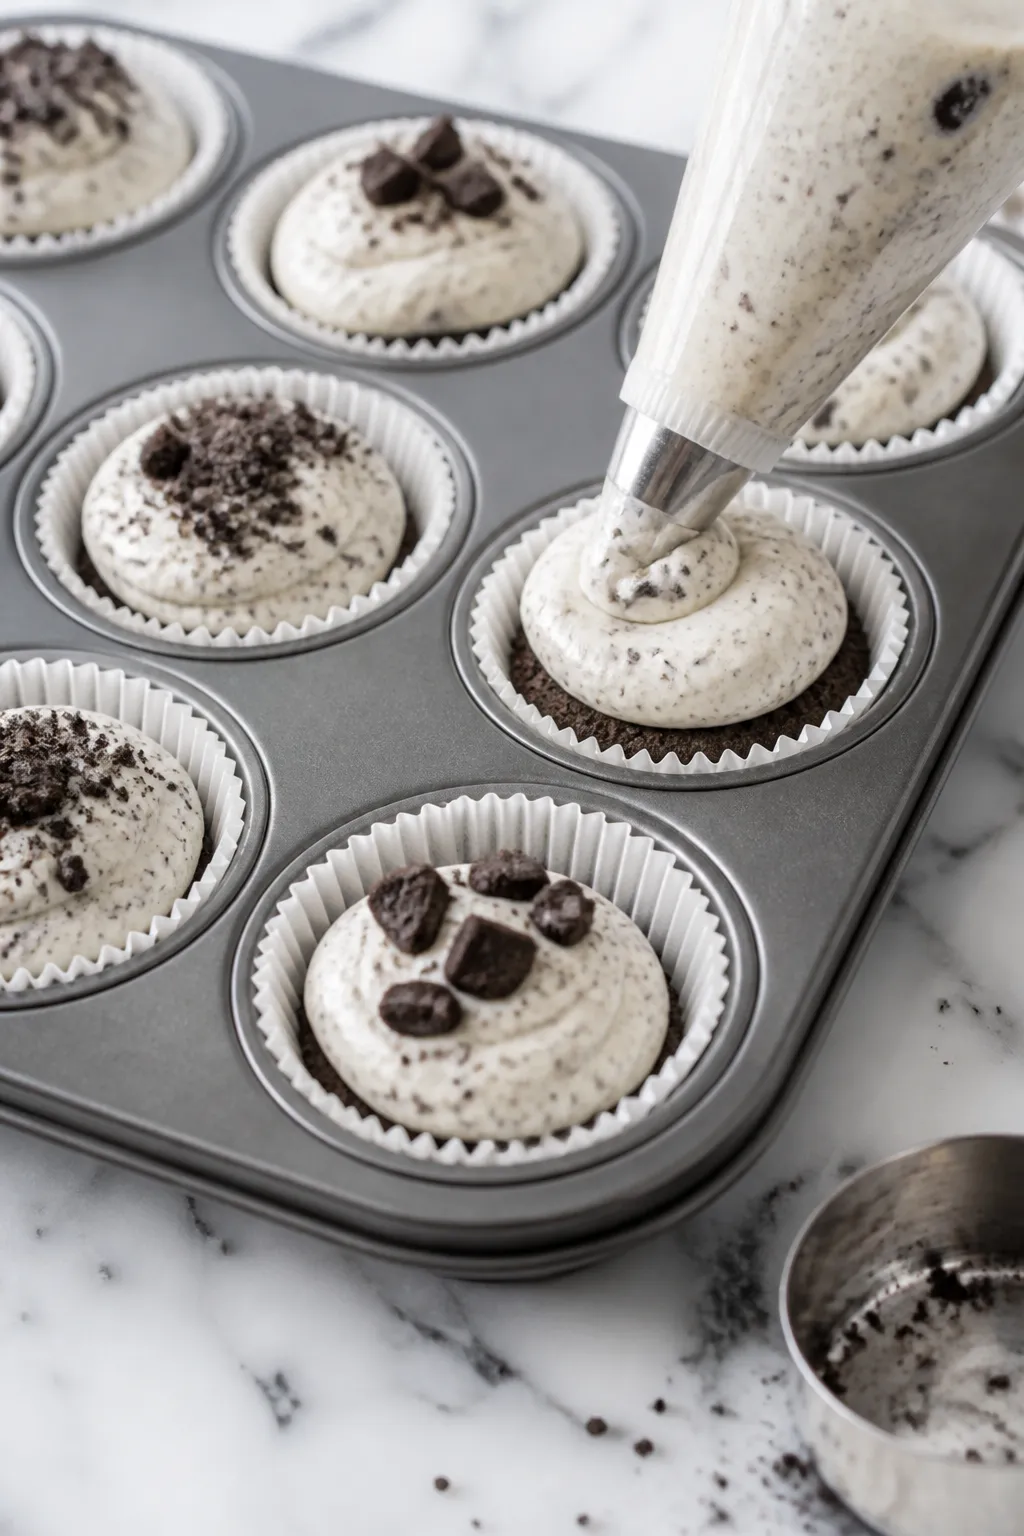
- Fill the cups: Spoon or pipe the filling over the chilled crusts, mounding slightly. Smooth the tops with the back of a spoon.
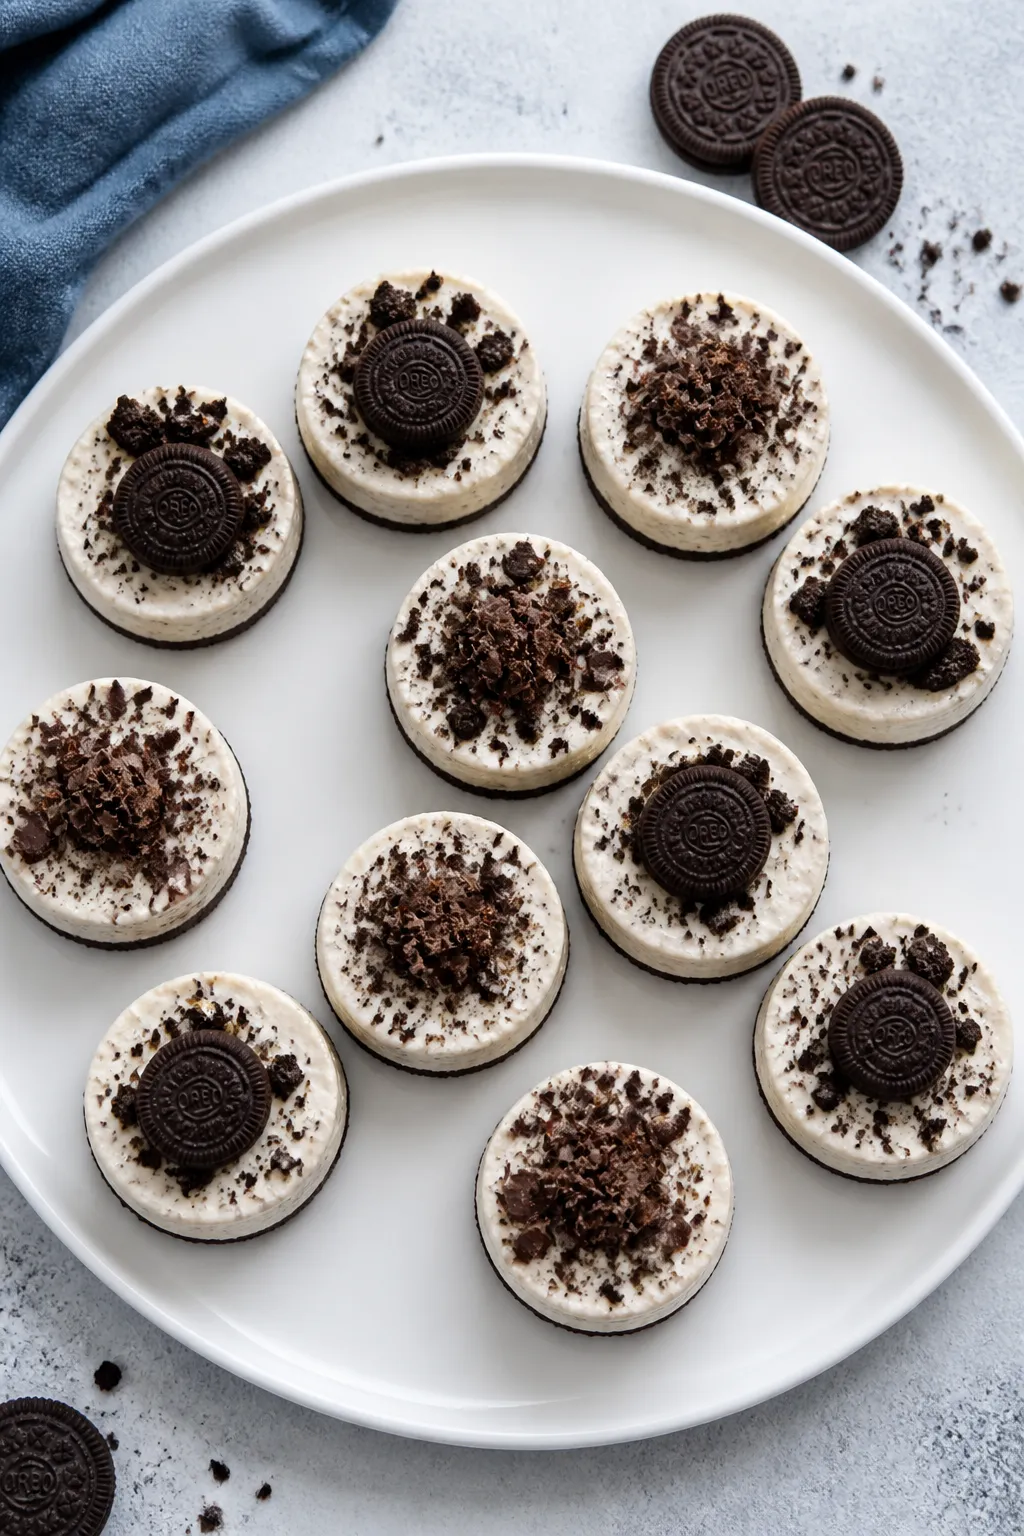
- Top and chill: Sprinkle with extra Oreo crumbs or press a mini Oreo on top. Refrigerate at least 3 hours, preferably 4–6, until set and sliceable.
- Serve: Peel off the liners and enjoy chilled.
For clean edges, let them sit at room temperature for 5 minutes before serving.
How to Store
- Refrigerator: Keep in an airtight container for up to 4 days. They taste best within the first 48 hours.
- Freezer: Freeze on a sheet pan until firm, then wrap individually and store in a freezer bag for up to 2 months. Thaw in the fridge overnight.
- Make-ahead tips: You can prepare the crusts a day early and mix the filling the day you plan to serve.
Add decorative toppings just before serving to avoid softening.
Benefits of This Recipe
- Beginner-friendly: No gelatin, no water bath, no oven. Just mix, fold, and chill.
- Time-flexible: Active prep is quick, and chilling happens hands-off while you do other things.
- Portable and party-ready: Minis are easy to transport and plate. No extra utensils needed beyond a napkin.
- Customizable: Change the cookie, add mix-ins, or swap toppings.
The base recipe is a blank slate.
- Great texture: The combo of sour cream and whipped cream delivers a creamy, cloud-like bite that still feels rich.
What Not to Do
- Don’t rush the chill time: If they’re not fully set, the filling can slump and feel loose.
- Don’t use low-fat cream cheese: It can taste watery and won’t set as well.
- Don’t skip softening the cream cheese: Cold cream cheese leads to lumps you can’t fix later.
- Don’t overmix after adding whipped cream: Overmixing deflates the air you need for structure.
- Don’t leave them out too long: They’re dairy-based. Keep chilled and only set out for short periods when serving.
Variations You Can Try
- Double chocolate: Add 2 tablespoons of unsweetened cocoa powder to the filling and top with chocolate shavings.
- Mint Oreo: Swap in mint Oreos and add 1/4 teaspoon peppermint extract. Garnish with crushed mint candies.
- Peanut butter swirl: Warm 1/3 cup creamy peanut butter and swirl into the filling before chilling.
Top with chopped peanuts.
- Berry burst: Fold in 1/2 cup chopped strawberries or raspberries and finish with a berry on top. The tang balances the sweetness.
- Gluten-free: Use gluten-free chocolate sandwich cookies for both crust and mix-ins.
- Salted caramel: Drizzle caramel over the filling and finish with a pinch of flaky salt.
- Birthday cake: Stir rainbow sprinkles into the filling and top with more sprinkles for a festive look.
FAQ
Can I use whipped topping instead of whipped cream?
Yes. Use about 2 to 2 1/2 cups of thawed whipped topping and fold it in gently.
The flavor is slightly different, but the texture will still be light and stable.
How do I prevent a crumbly crust?
Make sure the crumbs are finely ground and fully moistened with melted butter. Press the mixture firmly into the liners, and chill it while preparing the filling so it sets before adding weight.
Do I need a mixer?
A hand mixer or stand mixer makes the filling smoother and faster to whip. If mixing by hand, be patient and beat the cream cheese thoroughly to remove lumps before folding in the whipped cream.
Can I make these in a mini muffin pan?
You can.
Use mini liners and reduce crust and filling amounts per cup. Chill time drops to about 2 hours. They’ll be bite-sized and great for dessert platters.
Why is my filling grainy?
This usually happens when the cream cheese wasn’t fully softened or the sugar didn’t dissolve.
Beat the cream cheese and sugar until completely smooth before adding other ingredients.
Can I reduce the sugar?
Yes. You can drop it to 1/3 cup without affecting the set. Keep in mind the Oreos add sweetness, so balance to taste.
What if I don’t have sour cream?
Greek yogurt (full-fat) works well.
It adds a similar tang and creamy body. Avoid nonfat versions, which can make the filling watery.
How long can they sit out at a party?
Keep them chilled as much as possible. Aim for no more than 1–1.5 hours at room temperature, then return to the fridge.
Final Thoughts
These no bake mini Oreo cheesecakes check every box: simple, creamy, and guaranteed to please.
They look impressive with hardly any effort, and the flavors are nostalgic and comforting. Keep a batch in the fridge for last-minute guests, or stash some in the freezer for a quick sweet fix. Once you make them, you’ll find endless ways to tweak and dress them up for any occasion.
Printable Recipe Card
Want just the essential recipe details without scrolling through the article? Get our printable recipe card with just the ingredients and instructions.