19 Bridesmaid Wedding Hairstyles for Long, Medium & Short Hair: Glam Guide
These chic looks are perfect for bridesmaids who want effortless, camera-ready glamour without spending hours in the chair. From beachy waves to polished updos, you’ll find something that suits every hair length and vibe. FYI, these styles photograph beautifully and stay put from ceremony to dance floor.
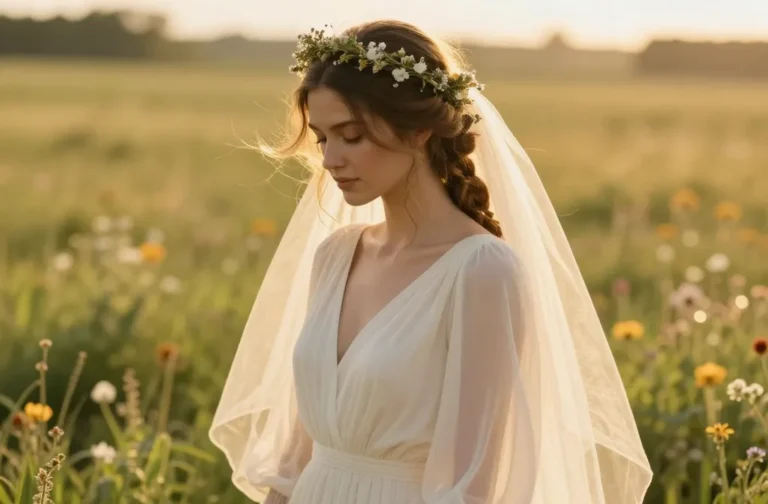
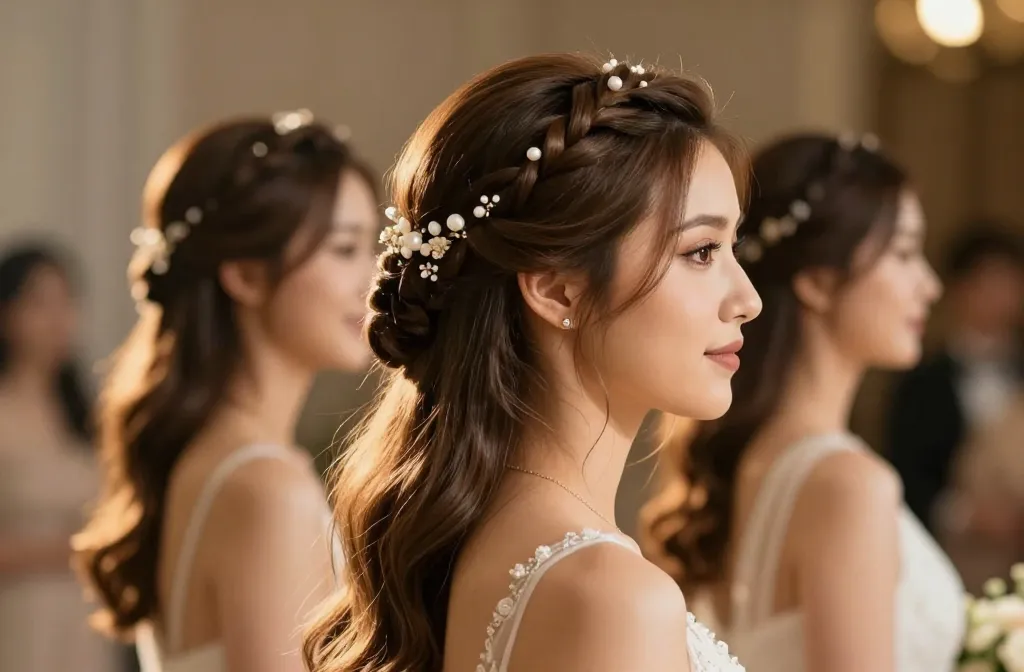
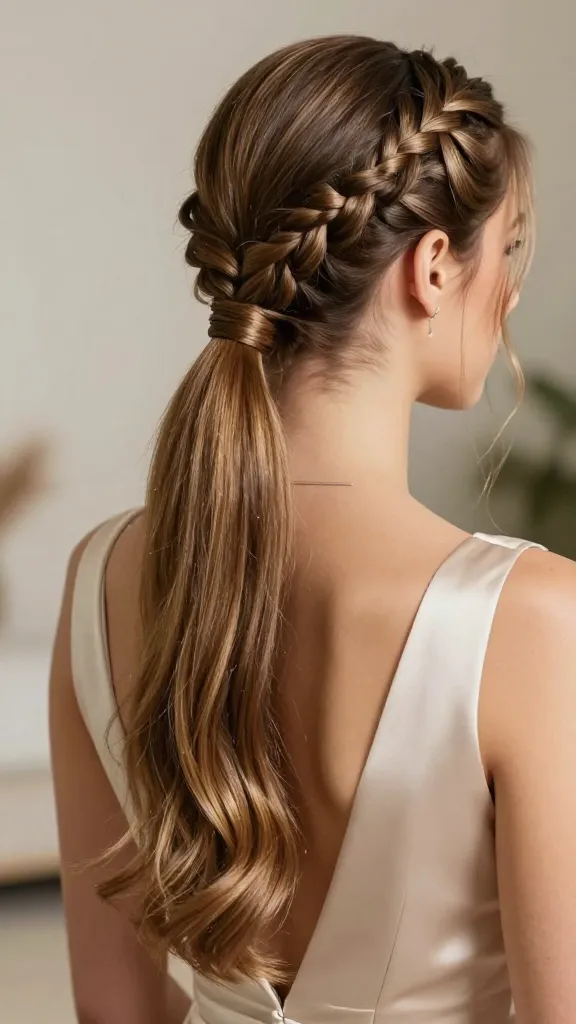
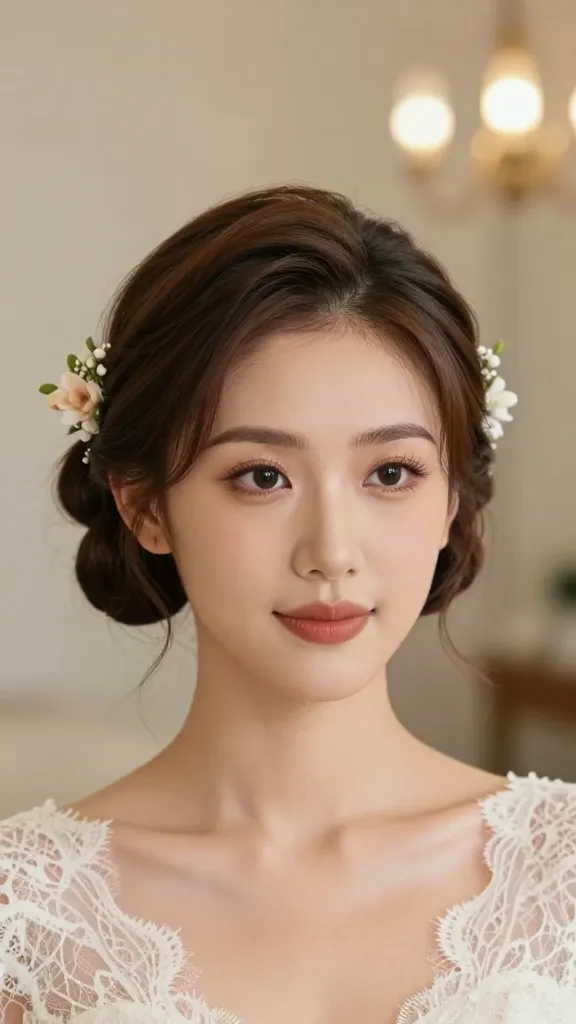
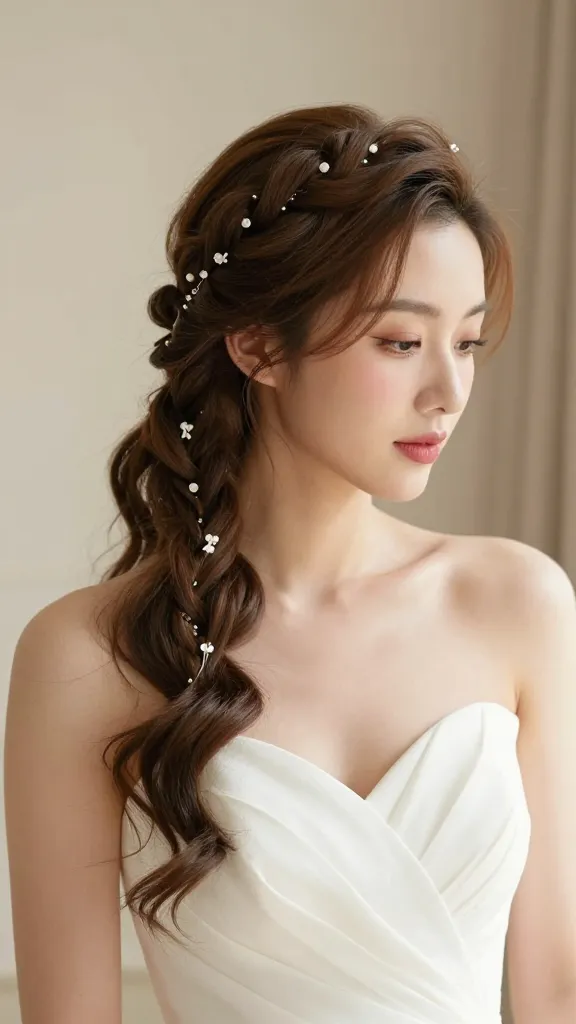
1. Braided Crown Boho Glam for Long Locks
This crown really carries a look—from the ceremony to the reception. It’s romantic, modern, and surprisingly easy if you practice a bit. Your hair will look full and sculpted without stiff pins everywhere.
Ingredients:
- Hair ties matching your base color
- Small clear elastics
- Assortment of small decorative pins or fresh flowers
- Light hold styling spray
Instructions:
- Create a loose braid along the hairline on one side, braid until you reach the back, and secure with a pin.
- Repeat on the other side to form a gentle crown, crossing at the back and pinning.
- Gently tug on the braids to soften them, then tuck ends under the crown and secure with pins.
- Finish with a light spray to hold everything in place.
Serve with soft waves or a straight, sleek finish. Variations: swap flowers for pearl pins for a classic vibe, or add a thin gold thread for sparkle. Pro tip: apply a bit of texturizing spray before braiding for extra grip.
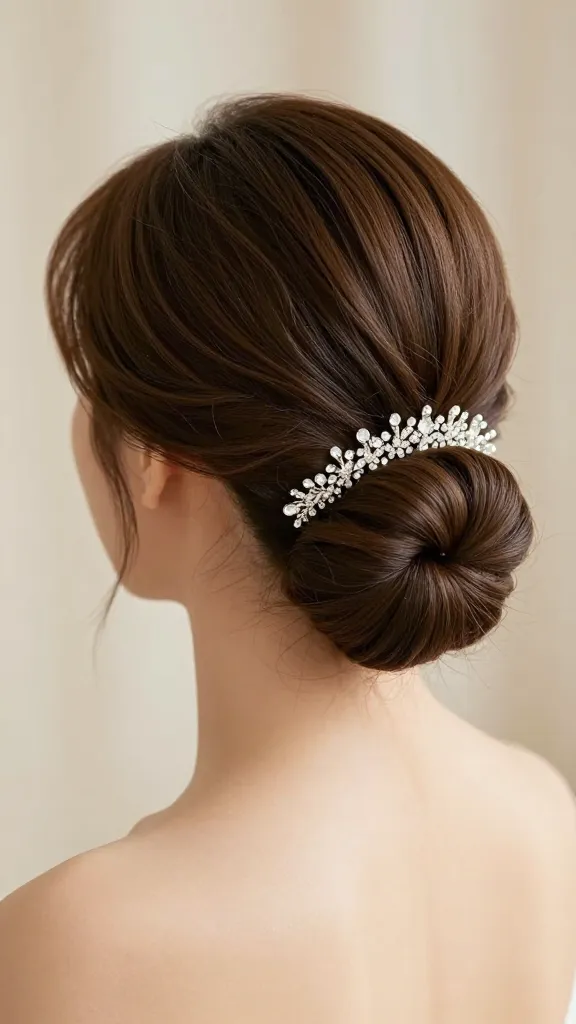
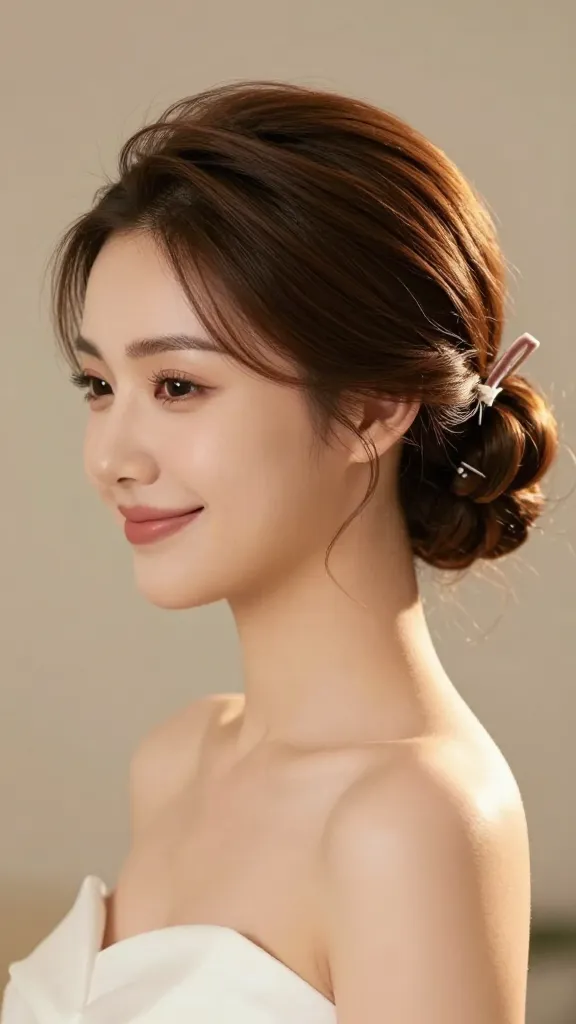
2. Low Sleek Bun That Reads ‘Wedding Day Boss’
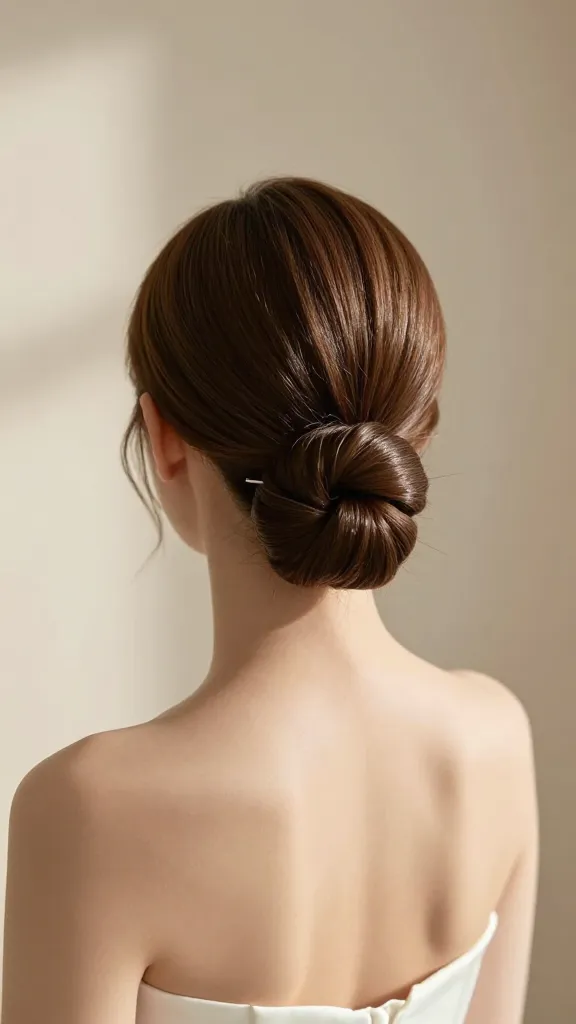
This bun is the minimalist hero—polished, elegant, and surprisingly forgiving. It works wonders for medium and short hair with a bit of padding inside the bun.
Ingredients:
- Hair donut insert (for volume)
- Clear hairpins
- Hairspray with flexible hold
- Glossy shine serum
Instructions:
- Pull hair back into a low ponytail at the nape of the neck.
- Slide in the hair donut and wrap hair around it to form a bun.
- Tuck ends under and secure with pins, then mist with spray.
- Finish with a small amount of shine serum for a sleek, camera-ready finish.
Serving suggestions: pair with jeweled hairpins or a delicate veil. Pro tip: use a fine-tooth comb to smooth the crown for that flawless, glossy look.
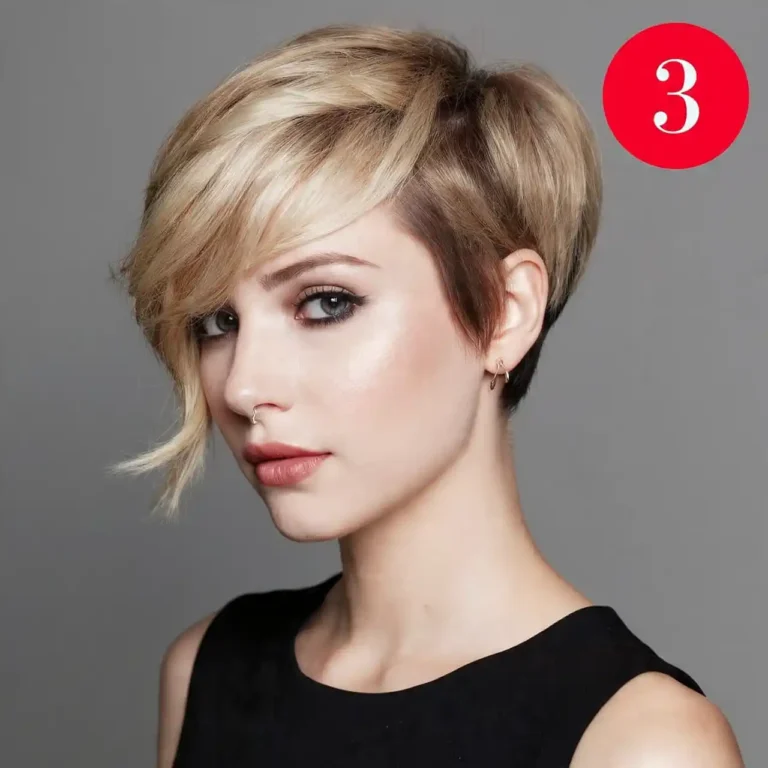
3. Romantic Side-Swept Waves for Every Length

Soft, cascading waves scream bridesmaid energy without feeling fussy. This style looks gorgeous with a floral clip or a delicate bridal comb.
Ingredients:
- Heat protectant spray
- 1-inch curling iron or wand
- Light hold finishing spray
- Hair clips for pinning
Instructions:
- Apply heat protectant to dry hair.
- Wrap large sections around the wand, holding for a few seconds, then release.
- Brush through curls with fingers for a soft wave, then pin back a small section at the temple if desired.
- Spritz with finishing spray to hold.
Variations: add a subtle tint of shine serum for extra gloss, or tuck a single blossom behind the ear for a romantic touch. FYI, a vitamin E drop before styling prevents frizz in humid venues.
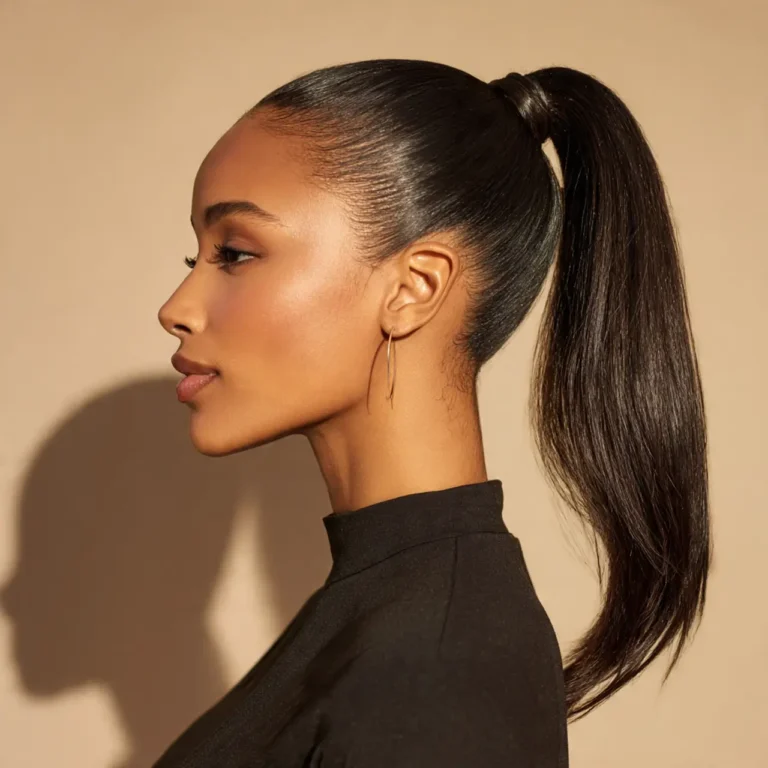
4. High Ponytail with Tucked-In Braids
This is the “cool bridesmaid” look that stays in place all night. A high pony with braided accents keeps things playful yet polished.
Ingredients:
- Elastic hair ties
- Small ribbon or metallic wrap (optional)
- Hairpins
- Texturizing spray
Instructions:
- Gather hair into a high pony, secure tightly.
- Hide the hair tie by wrapping a thin strand around it and pinning ends.
- Braid a small section on each side and wrap toward the ponytail, pinning as you go.
- Finish with texturizing spray to boost grip and volume.
Serving ideas: pair with a sparkling hair cuff or a minimalist veil. Pro tip: use a dry shampoo at the crown to keep height and texture without flyaways.
5. Messy Bun with Soft Tendrils for Shorter Hair
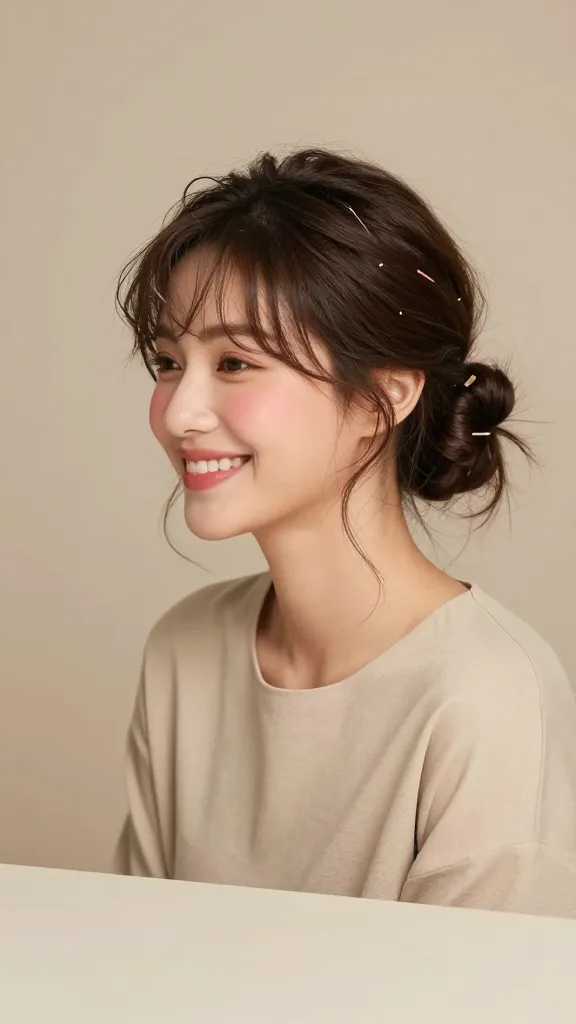
Short and sweet doesn’t mean boring. A loose bun with a few face-framing tendrils looks effortlessly chic and flirty.
Ingredients:
- Mini bun form or hair elastics
- Fine-tooth comb
- Soft blush or rose-toned pins
- Light hold hairspray
Instructions:
- Gather hair into a loose, low bun using a small bun form or by twisting and looping secured with elastics.
- Pull out a few strands around the face to soften the look.
- Pin any loose pieces to keep the bun intact while maintaining a relaxed vibe.
- Lightly mist with hairspray for staying power without stiffness.
Serving suggestions: add a delicate clip at the side or tiny floral sprigs for a bridal touch. Tip: tease the crown slightly before pinning to create volume that reads full on camera.
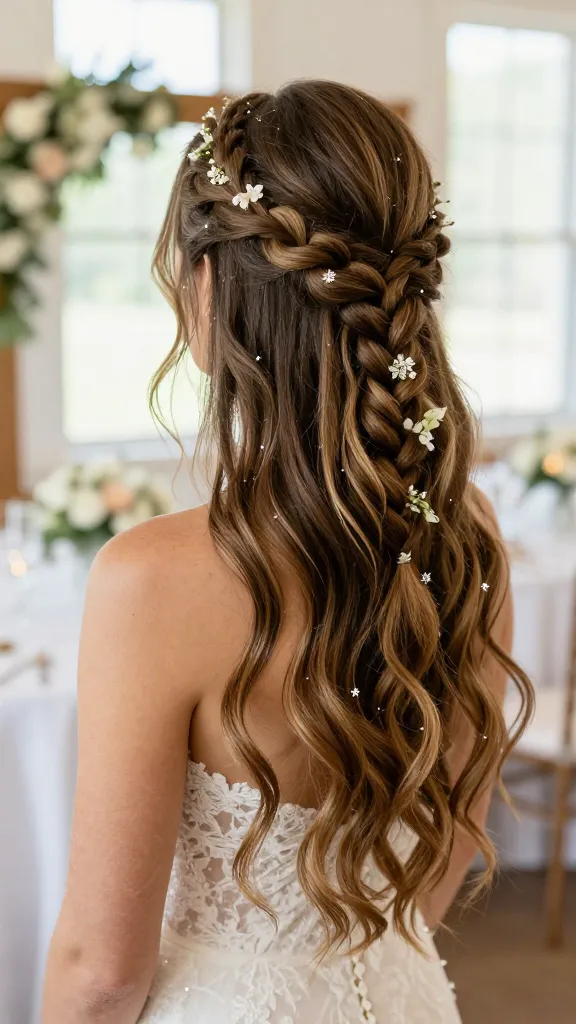
6. Waterfall Braid with Pearl Accents
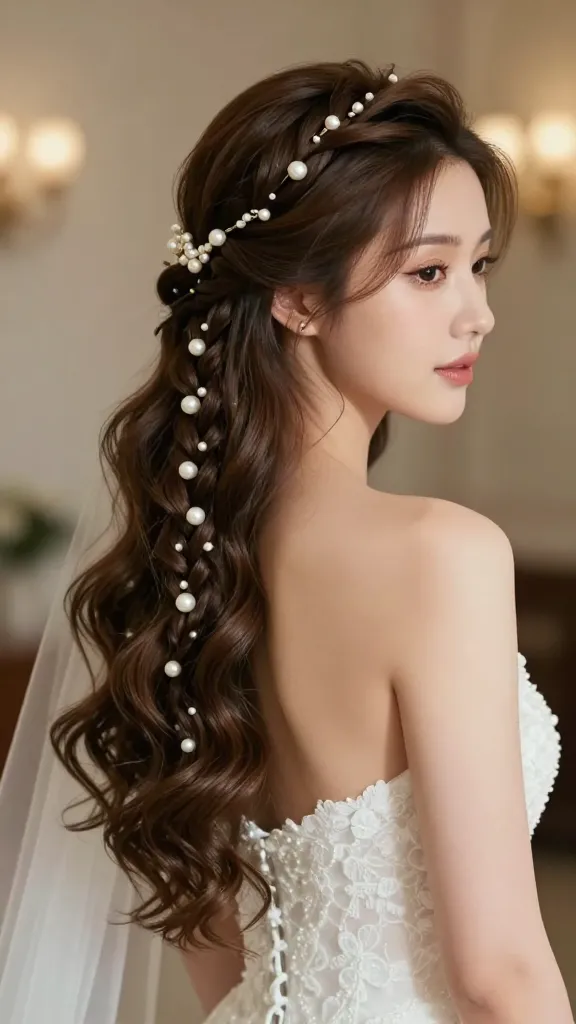
This look is all about flow and cascading beauty. The waterfall braid looks intricate but is more approachable than it appears.
Ingredients:
- Elastic bands matching hair color
- Pearl pins or a small pearl comb
- Strong-hold hairspray
Instructions:
- Start a French-style braid at the crown and drop one strand at regular intervals to create the waterfall effect.
- Continue weaving, letting the strands fall naturally.
- Secure at the nape with a subtle clip or pin, then add pearls along the braid or at the end.
- Finish with a light mist to keep everything in place.
Serving ideas: wear with a pale pink gloss and a simple veil. Serious pro tip: use a comb to loosen the braid slightly for a softer look.
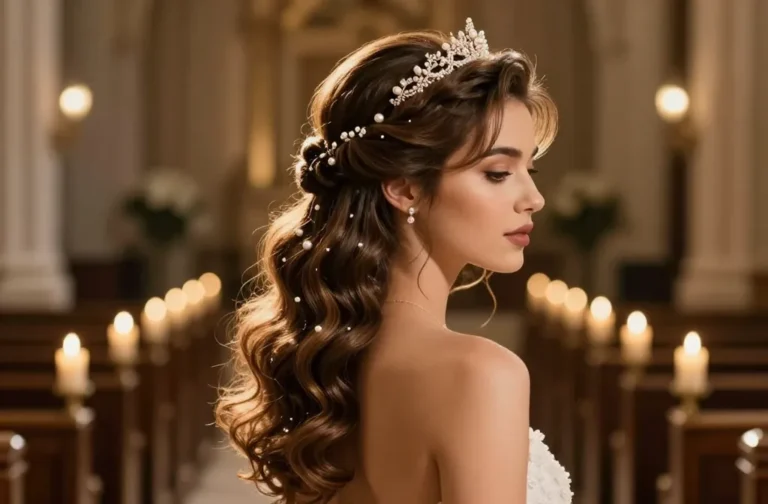
7. Classic Chignon with a Modern Twist
Elegance with a twist: a timeless chignon elevated by a magnetic hairpiece or a sculpted knot at the nape.
Ingredients:
- Chignon form or rolled section of hair
- Decorative hair comb or crystal pins
- Flexible hold spray
Instructions:
- Pull hair into a low pony, twist, and coil into a neat bun against the head.
- Secure with pins, hiding the elastic beneath the bun.
- Place a decorative piece or pins for shimmer and interest.
- Finish with flexible hold spray to maintain shape all day.
Serving suggestions: a delicate veil or a subtle flower tucked behind the ear adds romance. Pro-tip: backcomb the crown slightly for more volume before shaping the chignon.
8. Double Side Bun Duo for Bold Style
Two buns, double the fun. This playful take reads modern and keeps hair off the neck—great for warm venues.
Ingredients:
- Two small hair donuts or can rely on rolled hair
- Elastic ties
- Decorative pins or tiny flowers
Instructions:
- Part hair down the middle and create two low pigtail sections.
- Wrap each section into a mini bun using the donuts or rolling technique.
- Secure with pins and adorn with pins or flowers as desired.
- Finish with a light spray to keep everything in place.
Serving ideas: add a satin ribbon wrap around each bun for a polished finish. FYI, this look photographs beautifully from all angles.
9. Fishtail Braid Halo for a Fairytale Finish
A halo braid is equal parts dramatic and whimsical. It’s a showstopper that still feels accessible for bridesmaids of all lengths.
Ingredients:
- Clear elastic bands
- Floral pins or small blossoms
- Soft-hold spray
Instructions:
- Create a fishtail braid around the head, securing with pins as you go to form a halo.
- Pay attention to even width and pull-out strands for the romantic, imperfect look.
- Place flowers along the halo or at the ends, then mist with spray.
Serving suggestions: pair with a soft, rosy makeup look and a light dress for a cohesive vibe. Pro tip: pull out a few strands near the face for a relaxed, boho effect.
10. Knotted Half-Up for Easy Glam
The knotted half-up is equal parts casual and chic—perfect when you want something that stays put but feels effortless.
Ingredients:
- Hairpins
- Smoothing serum
- Light hold spray
Instructions:
- Section off the top half and create two loose knots, securing with pins.
- Let the rest cascade in soft waves or a straight, sleek finish.
- Finish with a light spray to seal the look.
Serving ideas: add a tiny crystal clip or a floral pin to the knots for extra sparkle. Serious tip: use a shine serum at the ends to keep them looking polished.
11. Vintage Velvet Roll for Dramatic Texture
This throwback roll adds texture and depth, making hair look lush and substantial in photos.
Ingredients:
- Velcro rollers or curling wand
- Strong hold spray
- Hair pins
Instructions:
- Section hair and set with velcro rollers for a voluminous base, or curl with a wand.
- Roll or twist sections into a soft roll at the back, securing with pins.
- Brush gently for volume and spritz with hold spray.
Serving suggestions: pair with a satin gown and a crystal hairpiece. Pro-tip: sleep on a silk pillowcase the night before to reduce frizz and make morning touch-ups a breeze.
12. Tucked-In Bouffant for Fullness
When you want volume without height that competes with the dress, the bouffant tucked-in style is your friend.
Ingredients:
- Fine-tooth comb
- Backcombing brush
- Hairpins
Instructions:
- Backcomb the crown to create height, then smooth the top layer with a comb to keep shape.
- tuck hair into a neat knot or roll at the back and pin securely.
- Finish with a flexible hold spray for long-lasting lift.
Serving ideas: a slim velvet ribbon or a metallic pin adds a luxe touch. FYI: keep a mini brush in your clutch for mid-event touch-ups.
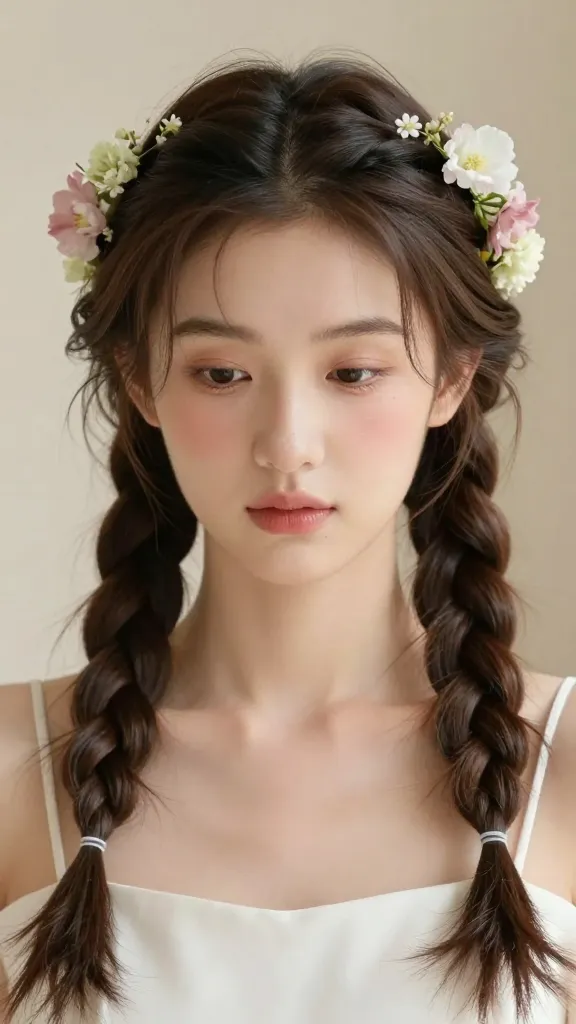
13. Boho Half-Up with Floral Cluster
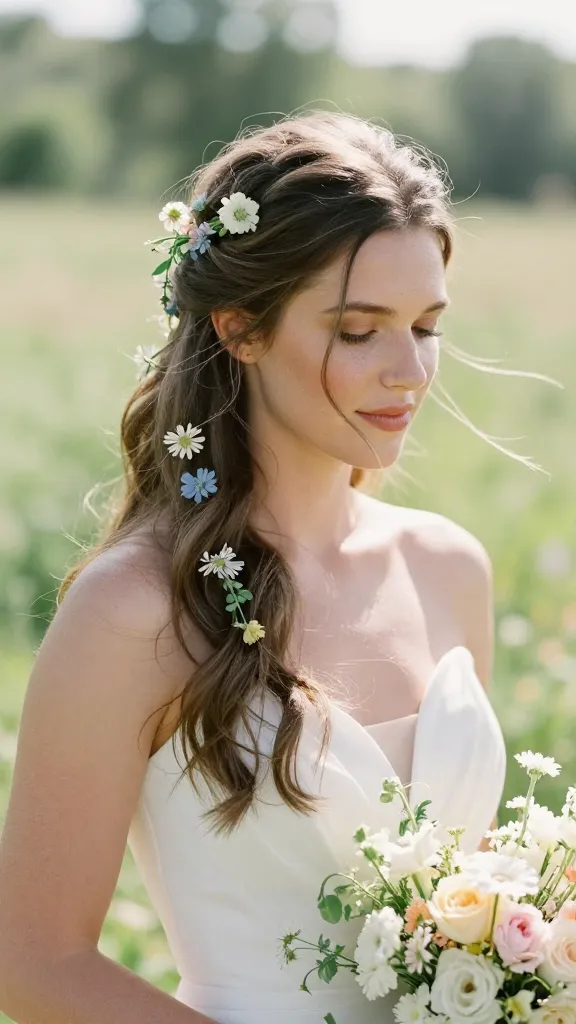
A nature-inspired vibe that feels ethereal and airy. This one works beautifully if you’re into fresh blooms.
Ingredients:
- Small fresh flowers or faux blooms
- Hairpins
- Light hair spray
Instructions:
- Gather the top half of hair and secure into a loose half-up style.
- Tuck small flowers into the pins, distributing evenly across the gathered section.
- Lightly spray to keep everything in place and prevent wilting if outdoors.
Serving suggestions: choose flowers that complement your dress and bouquet. Pro tip: alternate the flower size for a natural, garden-inspired look.
14. Sleek Mid-Back Knot for Modern Sophistication
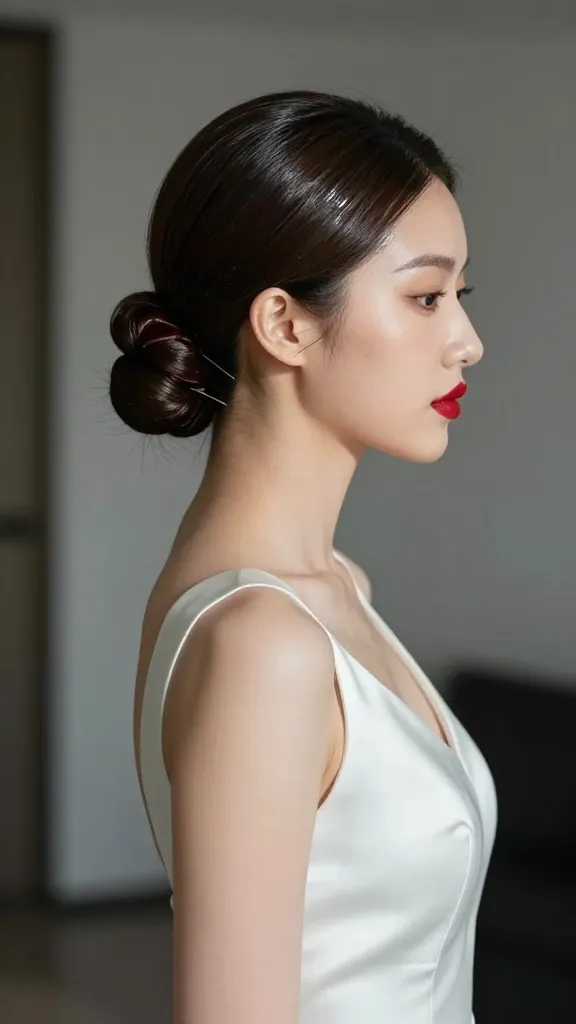
Minimalist, modern, and flattering on all face shapes. This knot sits at mid-back for a balanced silhouette.
Ingredients:
- Hidden hairpins
- Glossy serum
- Fine mist hairspray
Instructions:
- Bring hair to mid-back and twist into a neat knot, tucking ends underneath.
- Pin securely and smooth the surface with a small amount of serum.
- Spritz lightly to keep it all in line all night.
Serving ideas: pair with a satin dress and a bold lip for contrast. Pro-tip: a velvet scrunchie can help grip without adding bulk.
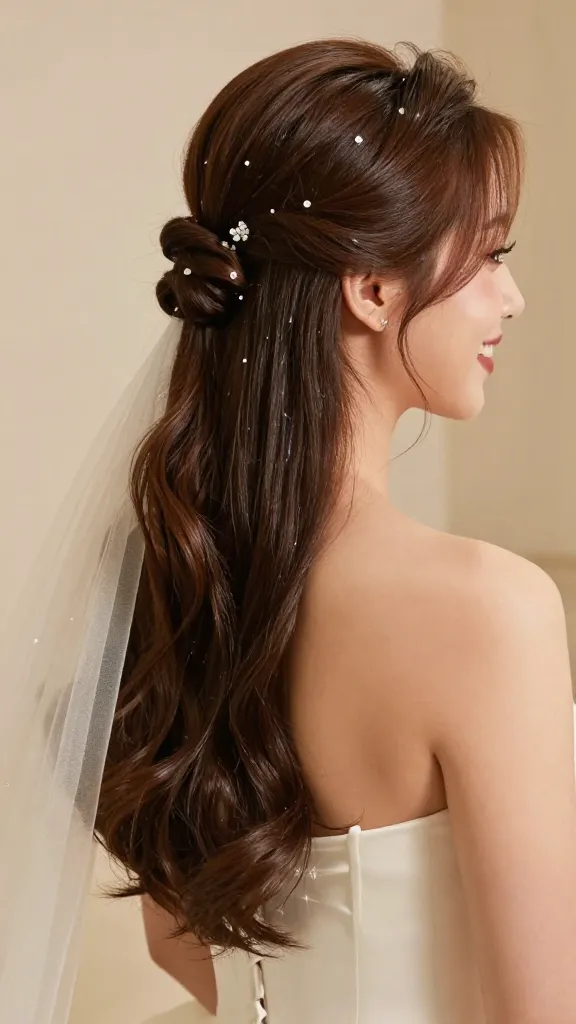
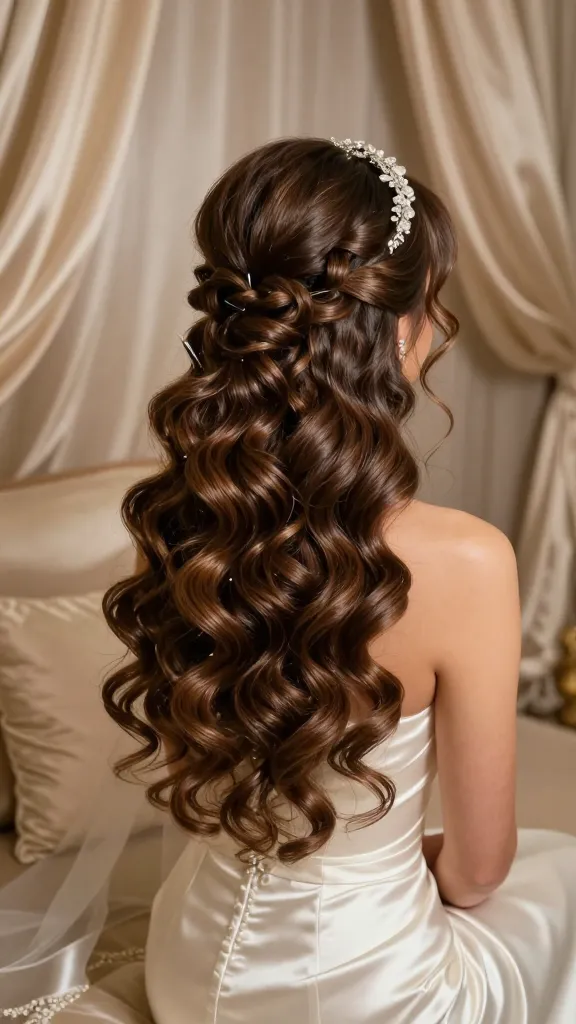
15. Cascading Curls with Hidden Bobby Pins

Think red-carpet glam that hides the hard work behind a tumble of curls and discreet pins.
Ingredients:
- Medium curling iron
- Hidden bobby pins
- Strong-hold spray
Instructions:
- Curl sections all around, letting curls fall naturally.
- Pin the front sections back with hidden pins to create a subtle updo effect.
- Finish with a firm spray to lock in shape.
Serving suggestions: a slim crystal headband can add glam without overpowering the curls. FYI: run fingers through curls after spraying for a softer, more natural look.
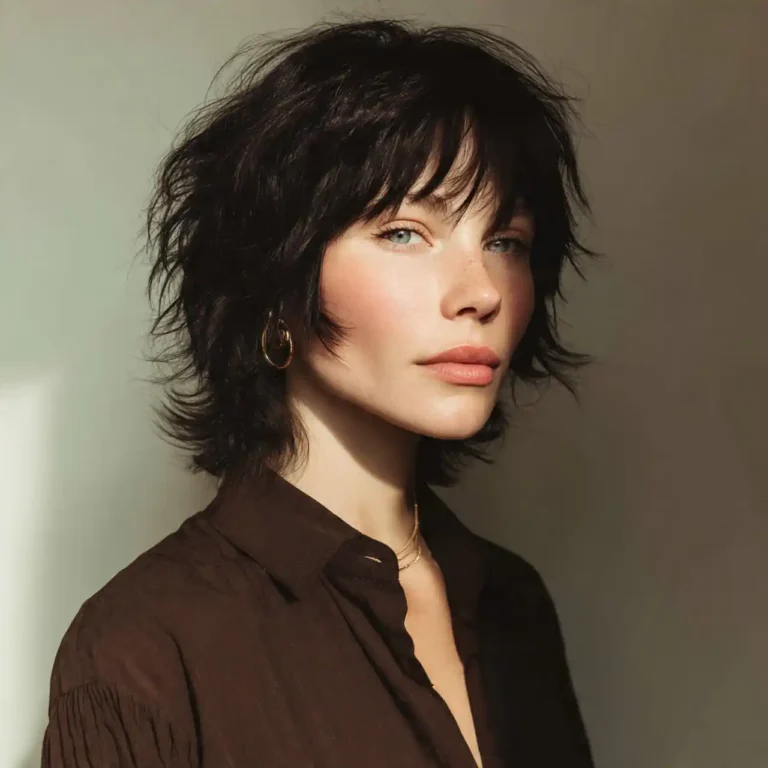
16. Mini Tendril Blaze for Short Hair Magic
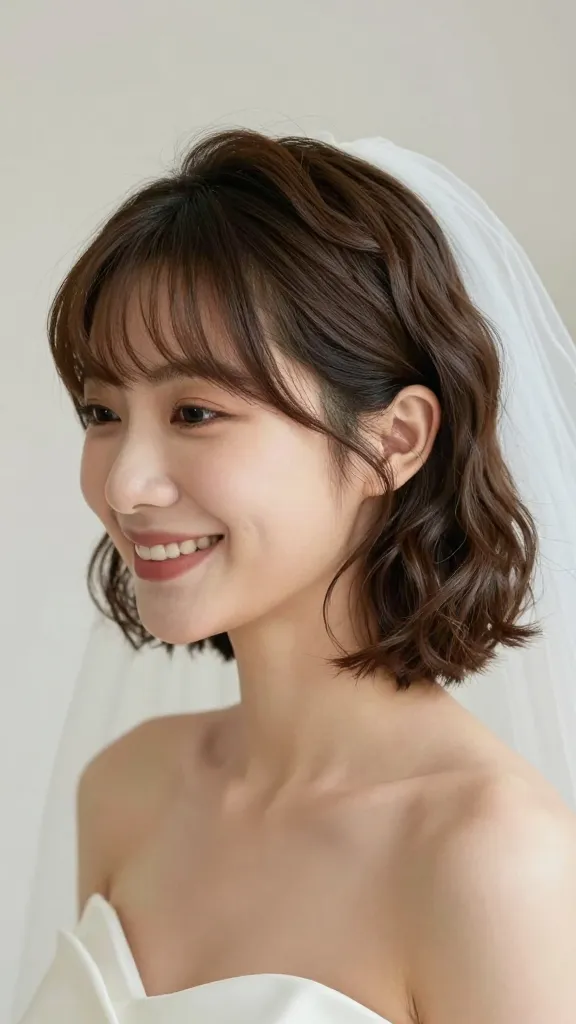
Short-haired bridesmaids deserve a moment too—soft waves with a few strategically placed tendrils read cute and chic.
Ingredients:
- Small curling wand
- Texture paste
- Pin clips
Instructions:
- Use a small wand to create a few gentle waves at the front and sides.
- Pull out a couple of face-framing tendrils and pin them behind the ear.
- Finish with a light dab of texture paste for separation and hold.
Serving ideas: pair with a coy smile and a lightweight veil. Pro tip: apply a tiny amount of product to the roots to keep everything from sliding during the dance floor sprint.
17. Gatsby-Inspired Side Roll for Glam Nights
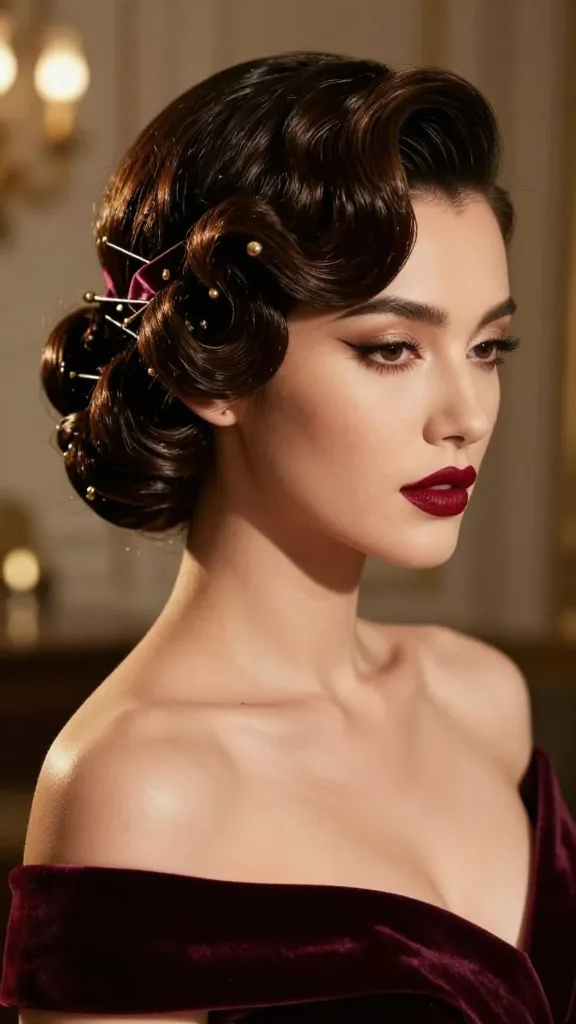
Old Hollywood vibes meet modern charm in this bold side roll. It’s dramatic, unforgettable, and surprisingly comfy.
Ingredients:
- Velvet or satin ribbon (optional)
- Strong pins
- Shine spray
Instructions:
- Part hair to one side and roll the heavier side away from the face, securing with pins.
- Pin down any loose strands and run a light shine spray over the surface.
- Optionally weave a ribbon along the roll for extra drama.
Serving suggestions: pair with a dramatic lip color and a sleek shoulder-baring gown. Pro-tip: use a soft bristle brush to smooth the roll’s surface for a luxe finish.
18. Twisted Halo with Delicate Clips
Twists create texture and a halo silhouette without committing to a full crown braid. It’s magical and versatile.
Ingredients:
- Mini twist bars or hairpins
- Delicate clip accents
- Light mist spray
Instructions:
- Twist small sections around the head and secure to form a halo-like shape.
- Place delicate clips to emphasize the twists and balance with the dress silhouette.
- Lightly mist to ensure everything stays in place.
Serving ideas: keep the look cohesive with a soft makeup palette and a blush-toned dress. FYI, this style photographs beautifully in natural light, especially outdoors.
19. Ultra-Polished Slick Back for a Modern Commanding Look
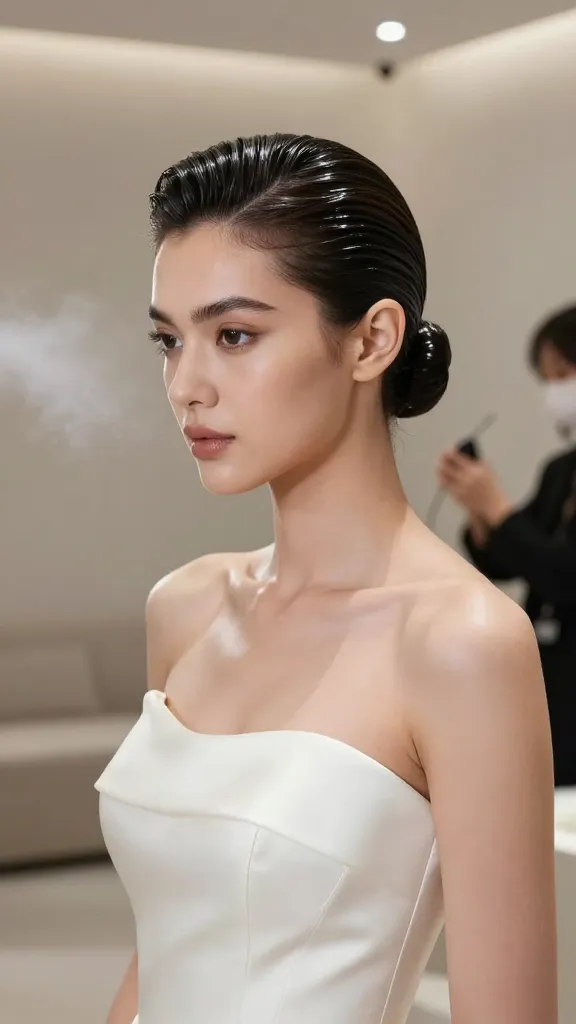
When you want a look that’s clean, confident, and chic, this slick-back style nails it. It’s surprising gentle with the right amount of shine.
Ingredients:
- Strong-hold gel or pomade
- Fine-tooth comb
- Clear hairpins
Instructions:
- Apply gel to damp hair and comb back evenly toward the crown.
- Secure with clear pins as needed and smooth with the comb for a seamless finish.
- Spritz with a light hold spray to maintain control all night.
Serving suggestions: keep a sleek, glossy look by adding a drop of shine serum to the ends. Pro-tip: use a microfibre towel to blot excess gel before styling to avoid crunchiness.
So, which hairstyle are you dying to try first? If you’re coordinating a whole squad, pick a couple that suit different hair lengths and let everyone choose their favorite. Seriously, you’ll love how these looks come together for photos and memories that last a lifetime.
Ready to pick your winner? Grab a friend, practice in a mirror, and have a blast transforming your crew into picture-perfect bridesmaids. You’ve totally got this!
Printable Recipe Card
Want just the essential recipe details without scrolling through the article? Get our printable recipe card with just the ingredients and instructions.